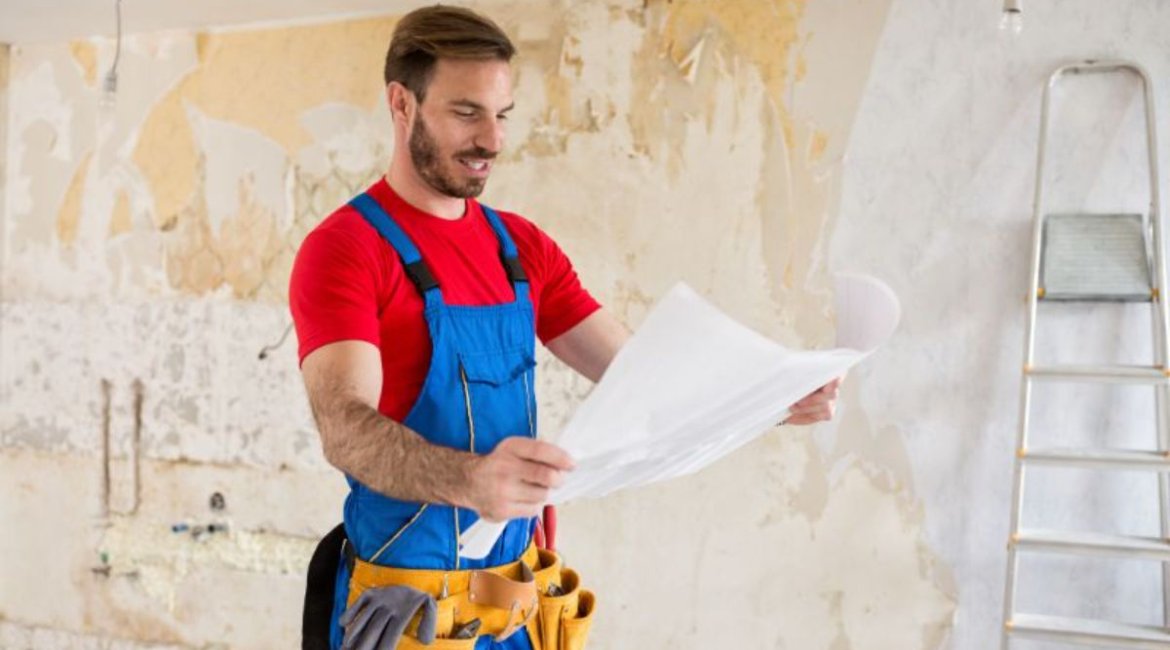
Are you looking into renovating your home using a concrete mixer? We’re here to offer various tips and tricks that can make this job much easier. Continue reading to find out tips and tricks for using concrete mixers for home renovations, how to renovate your home using a mixer, and the overall benefits of using a mixer as opposed to mixing concrete by hand.
If you would like to learn more about concrete mixers, take a look through our B&S Commercial Power website. We have various guides available to help you secure a successful renovation.
Tips And Tricks For Using A Concrete Mixer
A mixer is usually used on larger construction sites to help save on time and labour costs. However, these machines can be used for simple projects like paving or more complex projects like building infrastructure. Whether your project is simple or complex, here are a few tips and tricks to ensure smooth progress:

Prepare The Construction Site
The first thing that must be done on any construction site is to prepare and prime the site for any concrete pouring. The preparation includes manual work like marking the area, cordoning off the area for safety, as well as levelling the ground.
Wear The Correct Safety Gear
Before stepping onto the construction area, each person must wear protective gear – this is especially important to do before turning on the mixer. The safety gear that each person must wear includes a respirator, goggles, steel-toed boots, and work gloves.
The respirator, work gloves, and goggles are vital as concrete is an acidic material and the dust of concrete can burn hands and eyes. Make sure that you and your helpers are safe while working with concrete.
Keep Your Mixer Nearby
Concrete hardens very quickly, so place the mixer in an area where the concrete is easy to access. Furthermore, keep in mind the time it will take to transport the concrete from one spot to another.
More trips in less time mean that the concrete will not harden during transportation, and you will not get fatigued from moving heavy concrete over long distances.
Inspect The Mixer Often
Before turning the mixer on, check all the different components of the mixer. This can also be done while the mixer is being used and when it is off. Check that the blades of the mixer are not bent or damaged in any way. Regularly inspecting these machines will save you time and money further down the line. The sooner a problem is spotted the sooner it can be fixed.

Coat The Mixer
It is recommended to apply a layer of industrial grease to the outside of the mixer. This is done to prevent concrete from building up and curing on the machine. A thin layer of diesel can also be applied to the inside of the machine to prevent concrete from sticking to the drum.
Keep The Mixer On Level Ground
Your mixer should be placed on level ground. Also, avoid placing your mixer on wet ground. You can reinforce the stability of the machine by placing a stiff hardboard under the mixer.
Pressure Wash The Mixer
A pressure washer can be used to clean off concrete buildup on the machine. If you find that the pressure washer cannot remove the concrete buildup, use a chisel. It is important to get rid of this buildup before using the machine again.
Keep The Motor Clean
A mixer is normally kept outside and with all the dust produced by making concrete, the dust will eventually work its way into the motor of the concrete mixer. An air compressor is a great way to remove concrete, dust, or dirt that may be built up in the motor.
Grease The Wheels And Gears
Concrete mixers work hard to produce high-quality concrete. Therefore, over time the gears and pulleys will have wear and tear. This is why it is important to grease the wheels, gears, and pulleys. This will reduce any potential damage to these moving parts because of friction. This will help your mixer last longer and keep its performance at its peak.
Clear Out The Mixer
After a long day of mixing concrete, turn the machine off and drain the drum of excess concrete. Avoid waiting until the last minute to remove the concrete from the drum. Concrete hardens very quickly, and it will not take long after the machine is off for the hardening to start.
Clean The Mixer When Done
At the end of each day after you have removed the excess concrete, thoroughly clean the machine with water and gravel. Use a mixture of two scoops of clean gravel as well as 11,4 litres of water. Pour this mixture into the drum and let the drum turn for 15 to 20 minutes.
While the drum is mixing, adjust the angles to make sure that the gravel and water mixture gets into all the difficult-to-clean spots. All these tips and tricks will ensure that you get the best results while using your mixer.
How Can You Renovate Your Home With A Concrete Mixer?
A concrete mixer may seem like an intimidating piece of equipment that only professionals should use, however, this is not the case. This piece of equipment is excellent for the everyday homeowner that would like to renovate their home.
A mixer can be used to renovate the floors in your driveway, garage, and outside patio area floor. In many home renovations, concrete mixers are used to renovate walls as well. Continue reading to learn a few tips for how you can renovate your home with a concrete mixer.
Concrete for The Foundation
As mentioned above, before any work can be done the construction area must be prepared. Once the area has been prepared the concrete for the foundation of your driveway, garage, or patio floor can be made.
When making concrete it is essential to get the mixture right. If you are unsure about how to make concrete, you can hire a concrete contractor or make it yourself with the help of a mixer.
Before you can start making the concrete you will need to measure the area you are revamping and then follow the necessary ratios provided by your chosen cement. Also, consider the colour of cement you would like. A light grey cement is perfect if you would like to paint over it.

When you find the perfect cement for your project you can add the mixture to your mixer. Keep in mind the ratios necessary to make the perfect batch of concrete and the best part is the concrete mixer will do all the hard work for you.
While the concrete is being mixed make sure that everything is out of the area you are renovating. Move furniture or cars if necessary and then begin thoroughly cleaning the area. Vacuum the area then use a mixture of soap and hot water to get rid of any additional dirt.
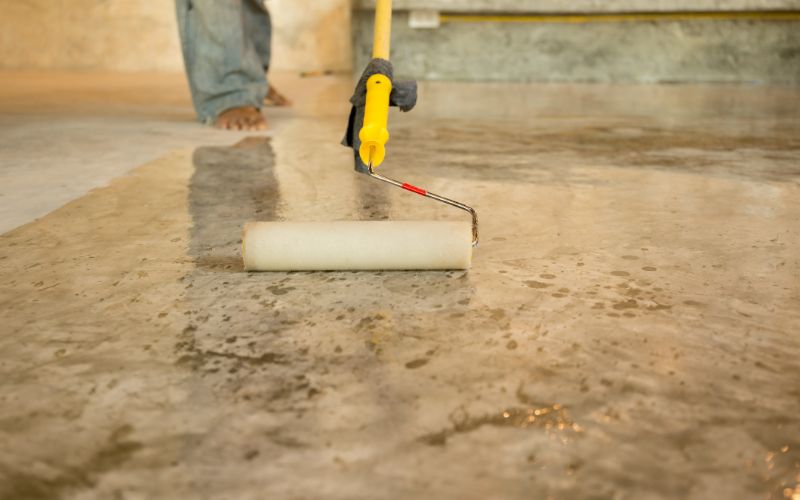
After your concrete has been made and the renovation area has been cleaned, you can begin pouring the mixture onto the levelled ground. Pour about a 2,54 cm layer of concrete onto the area and make sure that the area is evenly covered.
If you notice any bumps or bubbles use a towel to remove them, then wait for the concrete to dry. If you see any areas that are drier than others use a spray bottle to water down these areas. This will help reduce the likelihood of concrete cracking later. Allow the area to dry properly over 24 hours.
Covering The Floor
Once the concrete has dried it is important to seal it. This is not always necessary, but it will help with the longevity of the concrete. Sealing the concrete will prevent stains, weeds, cracks, and moss from ruining your newly renovated area.
Sealing concrete is important if you live in areas that have a lot of rain or snow during the year. If you would like to add extra furnishings to the area here is how you can do it: you can either coat the floor or cover it.
If you choose to coat the floor you will need either paint or epoxy. Either of these options will add colour to the area and seal it off. You can use a paint roller to apply epoxy. Epoxy is a material that hardens using a chemical reaction.
Paint is a great option if you might get bored of the colour used for your concrete. You can repaint the area as many times as you like. On the other hand, a cover is a layer of a specific material that is placed on top of the concrete. An example of a covering is mats.
Mats are usually used to upscale different areas. Mats can easily be changed around and moved to different parts of a room. This is also a great option if you would like to change your patio or garage into a gym area.
What Are The Benefits Of Using A Concrete Mixer For Home Renovations?
There are various benefits to having a mixer on hand, especially if you are a one-person team. If you are someone who regularly uses concrete for DIY home renovation projects, a concrete mixer will be an investment. Benefits of using a mixer for home renovations include:
It Is Faster And Requires Less Effort
If you are doing a DIY project it can be off-putting if it requires a lot of time and effort, especially if most of the time and effort will go into making concrete. Investing in a small mixer will greatly benefit your DIY home renovation projects. You will be able to save time and effort by focusing your energy on the bigger aspects of your project instead of mostly focusing on producing concrete.
You Can Mix Concrete Anywhere
If you have your concrete mixer, you can easily make concrete at home whenever you need it. You will not have to have concrete delivered to your home. This will also save you time and costs on transport.
You Can Do It Yourself
If you invest in a mixer, you will not need to find additional help to mix concrete. A concrete mixer will do all the labour-intensive work for you.
Improved Health And Safety
Using a concrete mixer means that you will not need to mix concrete by hand. This will protect you from inhaling harmful chemicals during the mixing process.
All these benefits are reason enough to head to B&S Commercial Power and buy a mixer for yourself! These machines will make your DIY home renovation projects simple and manageable. Contact us today to find the perfect mixer for your home renovations.